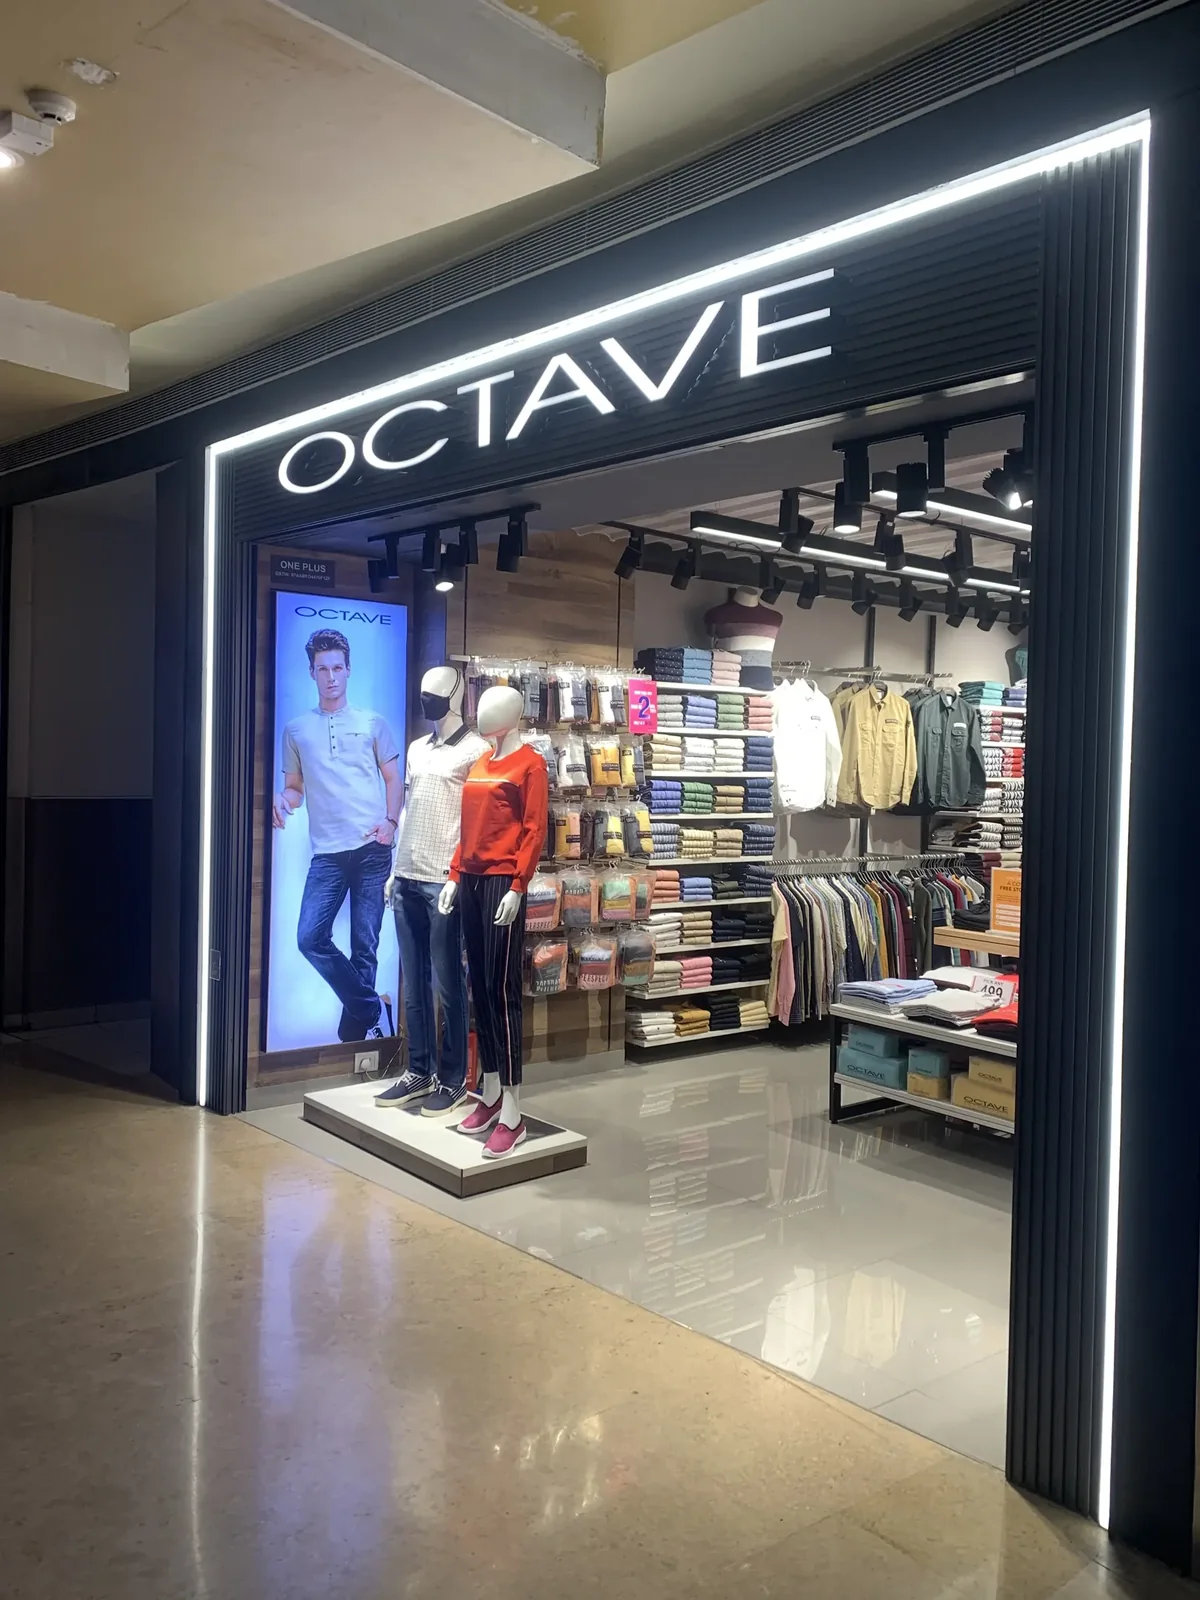
Mall store fit-outs involve more than the retailer and its contractor. The landlord, facilities team, design consultants, nominated vendors and the brand’s operations team each control part of the route to opening. This guide focuses on those interfaces: how to organise information and site access so the agreed design can move into fabrication, installation and handover. Specific requirements must come from the relevant mall’s current documentation.
Establish the shell handover condition
Record what the retailer is receiving before planning the fit-out. Check the demised boundary, shopfront opening, structural restrictions, floor levels, existing services and locations of available connections. Photograph the condition and record unresolved issues with the landlord. A shell described as ready may still have items that affect sequencing or the contractor’s scope.
Compare the physical premises with the lease drawings and the proposed store layout. Where dimensions differ, get the design team’s resolution before ordering fitted items. Clarify responsibility for rectification and any shared works. The aim is a documented starting point that all parties can use, rather than competing assumptions about what was included at possession.
Build one approval register
List every submission required by the landlord and identify who prepares, checks, submits and responds to it. Depending on the premises, submissions may cover layout, shopfront, signage, services and work methods. Treat these as project-specific requirements; do not assume one mall’s approval sequence will apply to another property.
The register should show drawing reference, revision, submission date, response status and outstanding comments. Record conditional approvals accurately. “Approved subject to comments” may still require changes that affect procurement. Keep a distinction between the brand’s design approval, the landlord’s review and any applicable specialist or authority requirements; one does not automatically replace the others.
Connect approval dates to fabrication
Identify which drawings and samples control factory release. A shopfront detail might depend on landlord comments, while an internal fixture can be developed earlier. Break the work into packages so the team can see what is ready and what remains exposed to change. Avoid describing every item as urgent without specifying the decision holding it up.
Set a release record for each package: approved drawing revision, material reference, quantities and authorised sign-off. If production is requested before final approval, the client and project team need to understand the specific risk and responsibility. A verbal assurance at a meeting should not silently become permission to manufacture a revised store frontage.
Plan access as part of the work
Confirm permitted working hours, labour registration, material delivery slots, loading access, lift dimensions and waste-removal arrangements. These affect how items are manufactured and packed as well as how they reach the shop. A large assembled counter may be impractical if the available route needs a smaller modular installation.
Prepare a delivery sequence that matches site readiness. Sending everything early can fill a small unit with fragile finished pieces while ceiling and flooring work are still underway. Record who receives deliveries, checks damage and provides protected storage. Coordinate noisy or disruptive activities with the mall’s requirements and any neighbouring stores that remain trading.
Keep services interfaces visible
Mark the boundary between landlord systems and tenant works in the responsibility matrix. Ask the relevant qualified consultants and vendors to confirm connection requirements, inspection stages and permitted work. The fit-out programme should allow for those interfaces rather than treating building-services completion as a single final-day activity.
Coordinate ceiling access, lighting, display power and service points with the interior elevations. A neat shop drawing is not enough if equipment cannot be accessed for maintenance after installation. Resolve conflicts before closing ceilings or sealing access panels. Record agreed changes in the drawings used by both the site and manufacturing teams.
Hold useful coordination meetings
Keep the meeting focused on decisions that affect the next work period. Review blocked approvals, site constraints, upcoming deliveries, dependencies and corrective actions. Each action needs an owner and due date. Circulate a concise record so the landlord’s team, brand and contractor do not operate from different versions of the same conversation.
Use photographs to explain physical conflicts, with a marked-up drawing where location matters. Escalate decisions before they consume programme float. If a material changes, review its connected details and approvals rather than simply replacing the description on an order. Maintain a live change log so cost and opening-date implications remain visible.
Separate handover from store opening
A fit-out handover, landlord inspection and retail opening may involve different acceptance criteria. Agree the deliverables for each. Allow time for snag correction, cleaning, equipment setup and merchandising. The store team needs to know which areas it can safely access and which remain under the contractor’s control during the transition.
Collect the agreed close-out documents and identify the contact for outstanding defects. Keep a dated list of incomplete items with responsibilities, rather than relying on the opening-day walkthrough as the only record. A coordinated close-out gives the retailer a clearer basis for operating and maintaining the space after the project team leaves.
Continue planning
Our mall fit-out process guide explains the broader sequence. Use the scope and tender checklist to prepare a comparable brief, or explore PID’s retail fit-out services and discuss a store project.